Install SlackerNews with the Helm CLI
This tutorial demonstrates how to install an application distributed with Replicated using the Helm CLI.
Introduction
In this tutorial, you will:
-
Download the sample Helm chart (SlackerNews)
-
Create a release for SlackerNews in the Replicated Platform
-
Get the Helm CLI installation instructions for SlackerNews from the Replicated Enterprise Portal
-
Install SlackerNews using the Helm CLI in a Kubernetes cluster
Set Up Your Environment
Before you begin, do the following to set up your environment:
-
Install the Helm CLI, which is the tool for interacting with Helm and managing Helm charts. See Install Helm in Set Up Your Environment.
-
Ensure that you have access to a Kubernetes cluster where you can test the installation using the Helm CLI:
-
Option 1: Use Compatibility Matrix. To use Replicated Compatibility Matrix to create a cluster for this tutorial, first request Compatibility Matrix credits. You can request credits by creating a Vendor Portal account and then going to Compatibility Matrix > Request more credits in the Vendor Portal. For more information about creating an account, see Create a Vendor Account. For more information about Compatibility Matrix credits, see Billing and Credits.
noteIf you are new to the Replicated platform, you might be eligible for $100 in free Compatibility Matrix credits. To request your free credits, reach out to our sales team at https://www.replicated.com/contact and note in the comments that you are completing a Replicated tutorial.
After you complete the prerequisites described above, continue to the Tutorial. You will create the cluster with Compatibility Matrix as part of the tutorial.
-
Option 2: Bring your own Cluster. You can use any cloud provider or tool that you prefer to create a cluster, such as Google Kubernetes Engine (GKE) or minikube.
For more information, see Set Up Development Environments for Testing.
-
Tutorial
Create an Application
Create a SlackerNews application in the Replicated Platform:
-
On your local machine, install the Replicated CLI:
-
MacOS
brew install replicatedhq/replicated/cli -
Linux / Windows Subsystem for Linux (WSL)
version=$(curl -s https://api.github.com/repos/replicatedhq/replicated/releases/latest \
   | grep -m1 -Po '"tag_name":\s*"v\K[^"]+')
curl -Ls \
   "https://github.com/replicatedhq/replicated/releases/download/v${version}/replicated_${version}_linux_amd64.tar.gz" \
   -o replicated.tar.gz
tar xf replicated.tar.gz replicated && rm replicated.tar.gz
mv replicated /usr/local/bin/replicated
For more information and additional installation options, see Install the Replicated CLI.
-
-
Authorize the Replicated CLI:
replicated loginIn the browser window that opens, follow the prompt to log in to your Vendor Portal account and authorize the CLI.
-
Create an application named SlackerNews:
replicated app create "SlackerNews"noteIf you already have an application named SlackerNews in your Vendor Portal team, you can add a qualifier to the name. For example, "SlackerNews Tutorial" or "SlackerNews YOUR_NAME".
-
Set the
REPLICATED_APPenvironment variable to the slug of the application that you created:export REPLICATED_APP=APP_SLUGWhere
APP_SLUGis the unique application slug provided in the output of thereplicated app createorreplicated app lscommands.Setting the
REPLICATED_APPenvironment variable allows you to interact with the application using the Replicated CLI without needing to use the--appflag with every command.
Get the Chart Archive and Create a Release
Download the chart archive for SlackerNews version 1.0.1, then add the archive to a new release in the Replicated Platform:
-
Run the following command to download the SlackerNews Helm chart archive to a new
tutorial-helm-installdirectory:curl -O --create-dirs --output-dir tutorial-helm-install https://docs.replicated.com/slackernews-1.0.1.tgz -
Add the chart archive to a new release:
replicated release create --yaml-dir tutorial-helm-install --promote UnstableExample output:
• Reading manifests from . ✓
• Creating Release ✓
 • SEQUENCE: 1
• Promoting ✓
 • Channel 32q8tKLfRFbHYPGJ1Q2E2vcDQ9j successfully set to release 1
Customize the Enterprise Portal
Customize the look and feel of the Enterprise Portal for the SlackerNews application:
-
Log in to the Vendor Portal.
-
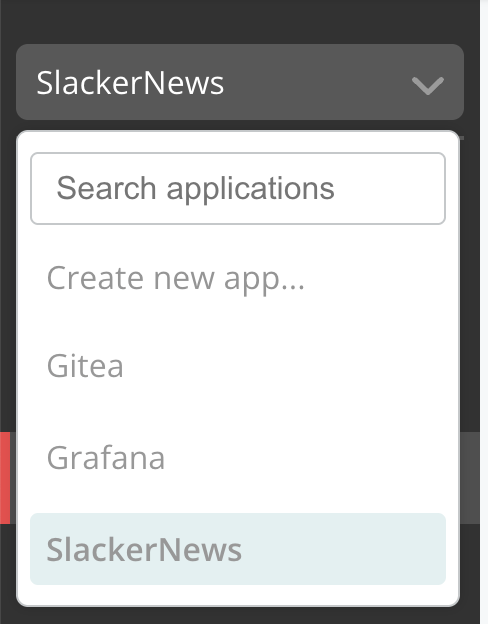
Under the application drop down, select the SlackerNews application that you created.
-
In the left navigation panel, click Enterprise Portal.
-
On the Enterprise Portal > Settings tab, for Title enter
SlackerNews Enterprise Portal. -
Scroll down to the Colors section.
-
For Primary, enter
#fd9431. For Secondary, enter#297372. Click Save.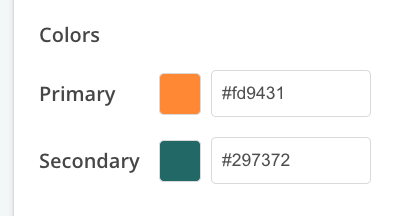
-
Go to the Knowledge base tab. For Helm Post-Install Instructions, enter the following markdown:
Congratulations! For more information about getting started with SlackerNews, see the docs at [https://docs.slackernews.io/](https://docs.slackernews.io/).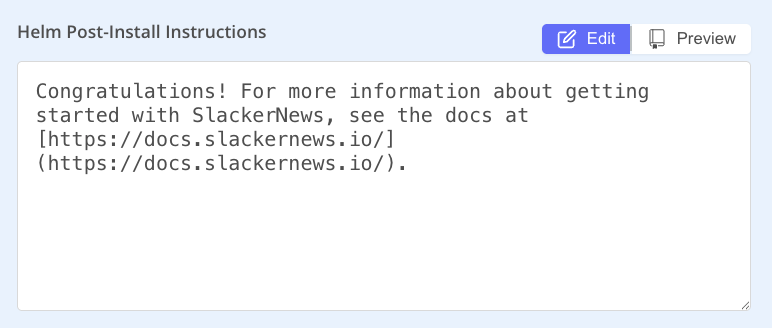
-
Click Save Changes.
Create a Customer
Create a test customer:
-
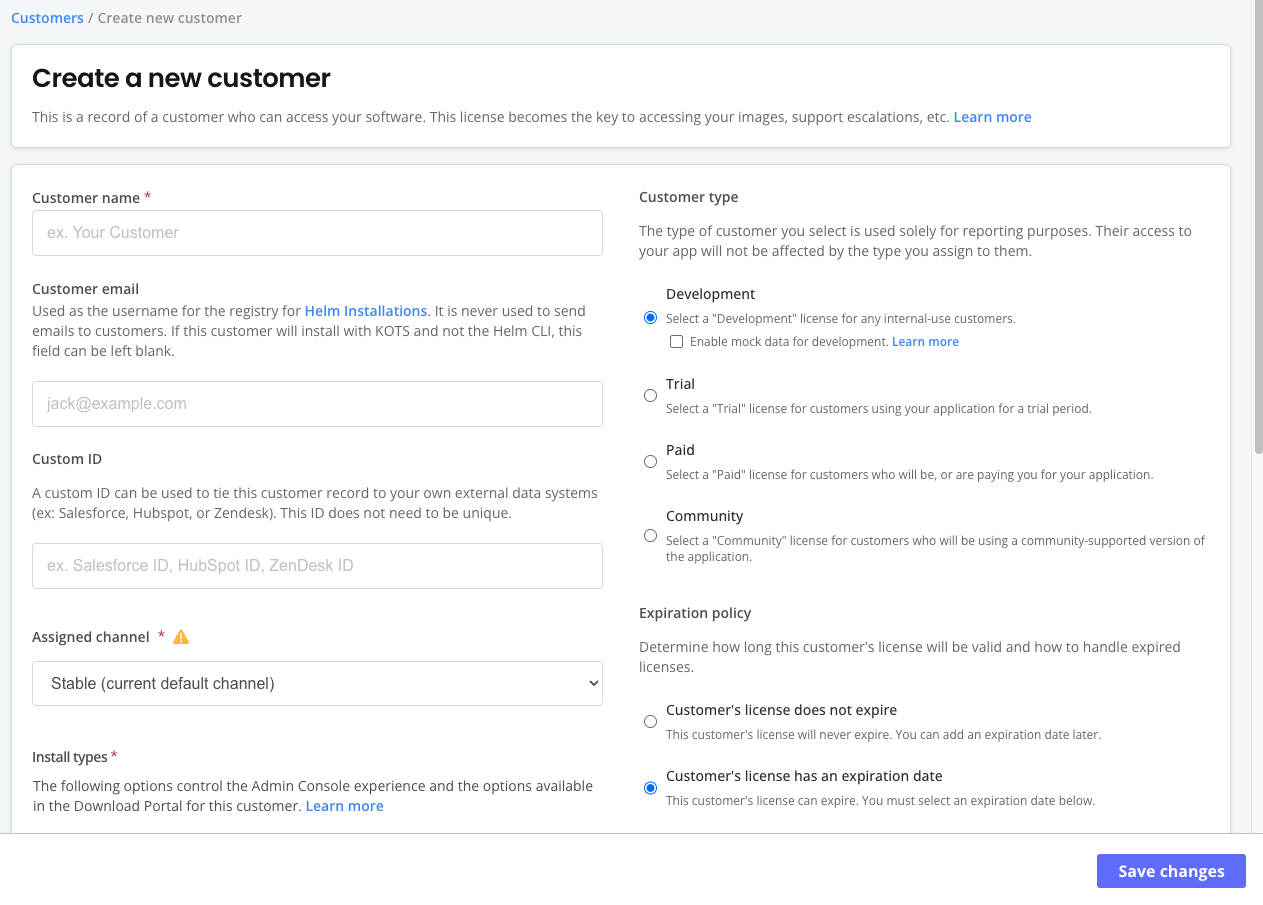
In the Vendor Portal, go to Customers > Create customer.
The Create a new customer page opens:
-
For Customer name, enter a name for the customer. For example,
Example Customer. -
For Customer email, enter an email address. This email address is only used as a username for authenticating with the Replicated registry and is never contacted. A customer email address is required for Helm CLI installations.
-
For Assigned Channel, select Unstable. This allows the customer to install releases promoted to the Unstable channel.
-
For Customer type, select Development.
-
For Install types, enable Existing Cluster (Helm CLI).
-
Click Save Changes.
Access the Customer's Enterprise Portal
Log in to the Enterprise Portal for the customer to get the Helm CLI installation instructions:
-
On the customer's page, go to the Enterprise Portal Access tab.
-
Enable the Enable Enterprise Portal for this customer toggle.
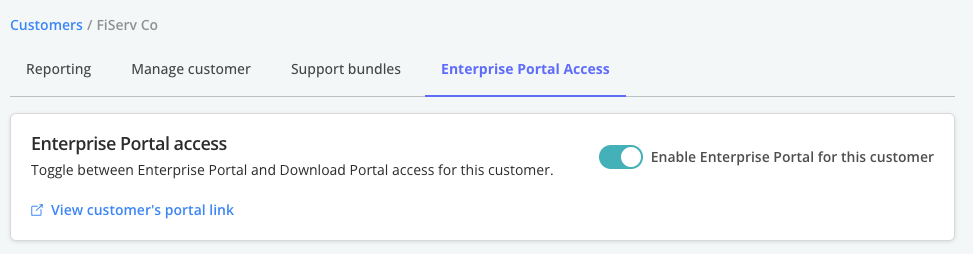
View a larger version of this image
noteThe Enterprise Portal is beta. By default, customers have access to the Replicated Download Portal. For more information, see Comparison to the Download Portal in About the Enterprise Portal.
-
In the Invite users dialog that opens automatically, click Cancel to close the dialog.
For your production application, this is where you could send initations to customers so they can access the Enterprise Portal.
-
Click Login to portal to generate a one-time login and open the Enterprise Portal for the customer.

View a larger version of this image
The Enterprise Portal dashboard opens.
-
Go to the Enterprise Portal Install tab.

-
On the Installation Guide page, if multiple installation options are displayed, select Helm.
noteThe installation options that are displayed in the Enterprise Portal depend on the Install types enabled for the customer.
-
For Instance Name, enter a nickname for the instance.
-
For Kubernetes Distribution, select the distribution of the cluster where you will install SlackerNews. If you are going to use Compatibility Matrix to create the cluster, select Vanilla Kubernetes.
-
For Cluster Network Availability, select Outbound requests allowed.
-
For Registry Access, select My workstation can access the internet, the registry AND the cluster.
-
Click Next.
Install
Install SlackerNews in a cluster:
-
If you brought your own cluster, set kubectl context to the cluster where you want to install. If you are using Compatibility Matrix, do the following:
-
Create a kind cluster with version 1.34.0 of Kubernetes:
replicated cluster create --distribution kind --instance-type r1.small --disk 50 --version 1.34.0 -
Watch for the cluster to have a
runningstatus:replicated cluster ls --watch -
After the cluster status is
running, run the following command to set your kubectl context to the cluster:replicated cluster shell CLUSTER_IDWhere
CLUSTER_IDis the ID of the cluster provided in the output ofreplicated cluster ls.noteYou can also copy the shell command for the cluster from the Compatibility Matrix page in the Vendor Portal.
-
-
Go back to the install wizard in the Enterprise Portal.
-
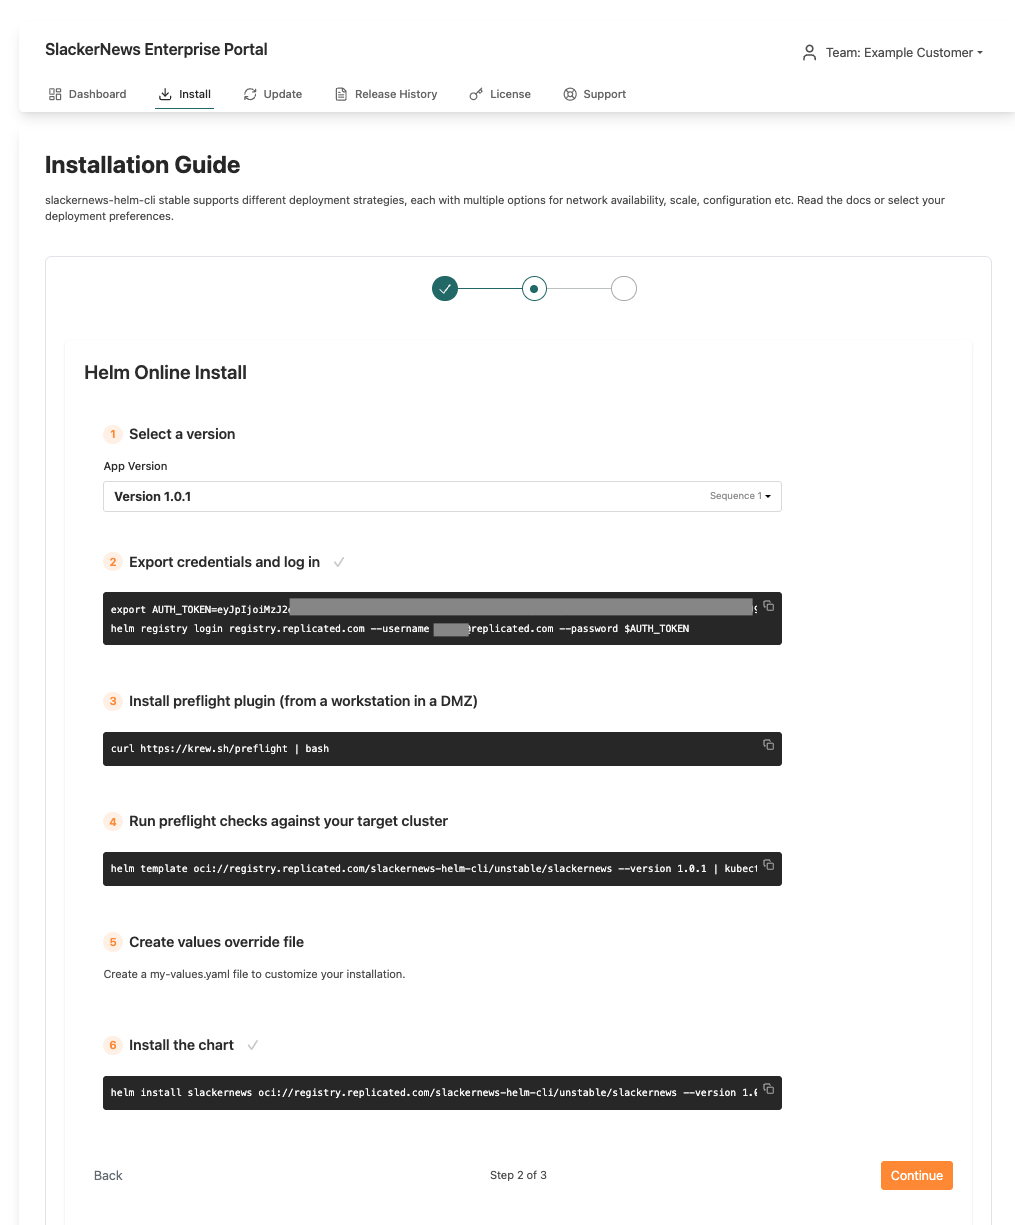
On the Helm Online Install, for Select a version, ensure that the version you promoted (
1.0.1) is selected. -
For Export credential and log in, run the command to log in to the Replicated registry.
-
Run the next command to install the preflight plugin.
-
Run preflight checks against the cluster.
-
Skip the Create values override file step. This is not necessary for the purpose of this tutorial because you do not need to pass a local values file to the chart.
-
Copy the install command provided and make the following changes:
- Remove the
--values my-values.yamlflag. - Add
--namespace slackernews --create-namespaceto install the application in the slackernews namespace.
Example:
helm install slackernews oci://registry.replicated.com/slackernews/unstable/slackernews --version 1.0.1 --namespace slackernews --create-namespace - Remove the
-
Watch the SlackerNews deployment:
kubectl get all --namespace slackernews --watch -
When the installation is complete and the
slackernews-nginxservice is running, run the following command to port forward the service to local port 8080:kubectl port-forward --namespace slackernews svc/slackernews-nginx 8080:8080 -
In a browser, go to
localhost:8080. The SlackerNews application landing page opens.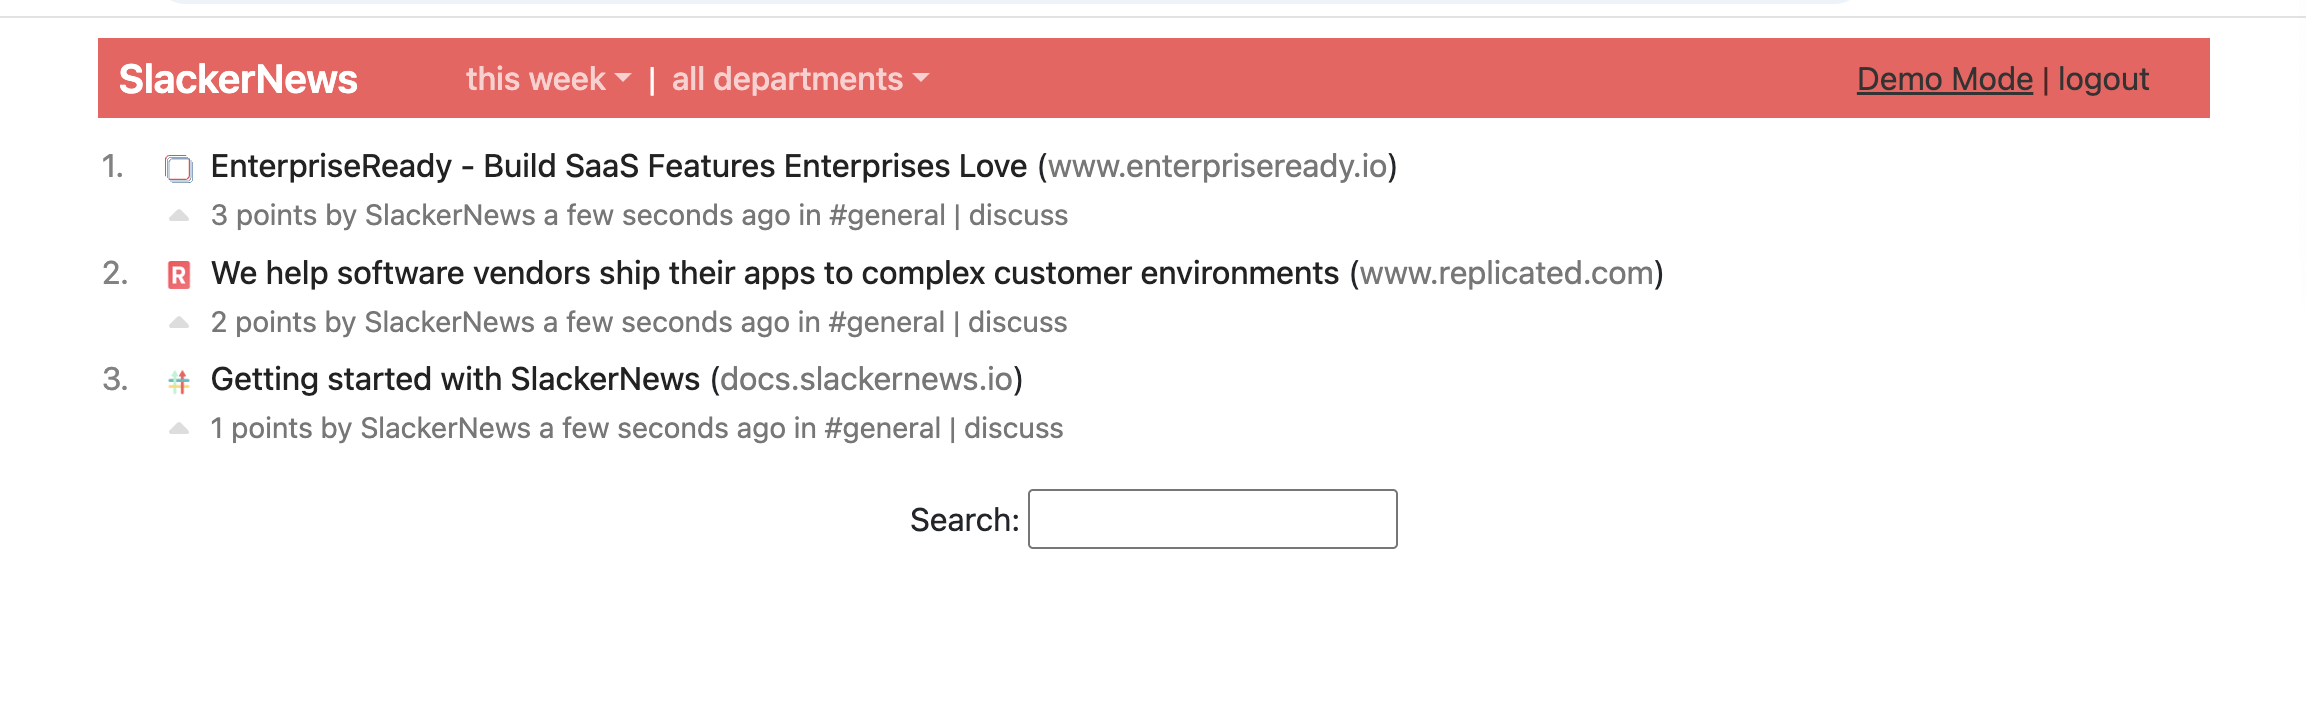
-
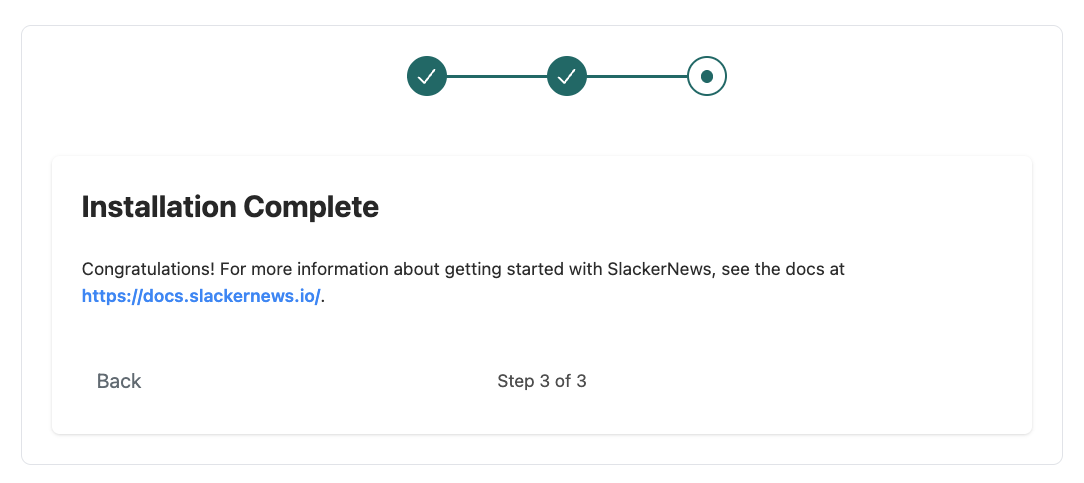
Go back to the Helm Online Install wizard in the Enterprise Portal and click Continue. On the Installation Complete page, you can see the post-installation message that you set.
-
Return to the Vendor Portal, select the SlackerNews application, and go to Customers. Under the name of the customer, confirm that you can see an active instance.
-
(Optional) Under Instance ID, click on the ID to view additional insights including the versions of Kubernetes and the Replicated SDK running in the cluster where you installed the application.
Summary
Congratulations! You created a release using a Helm chart, then followed the Helm CLI installation steps provided in the Enterprise Portal to install the release in a cluster.
For more information about Helm CLI installations for applications distributed with Replicated, see About Helm Installations with Replciated.